
 Learn how to install and configure Home Assistant in the fourth article in this series on home automation.
In the first article in this series, I introduced Home Assistant and why you might be interested in it. In short, Home Assistant is an automation hub for some of the most common smart devices on the market today. It enables centralized coordination of disparate hardware. By using it, you no longer have to choose suboptimal tech from a single vendor to manage your smart home from a single app. It also means you will no longer struggle with a hundred different apps that all function slightly differently to manage all your devices. One program to rule them all… or at least that’s the dream.
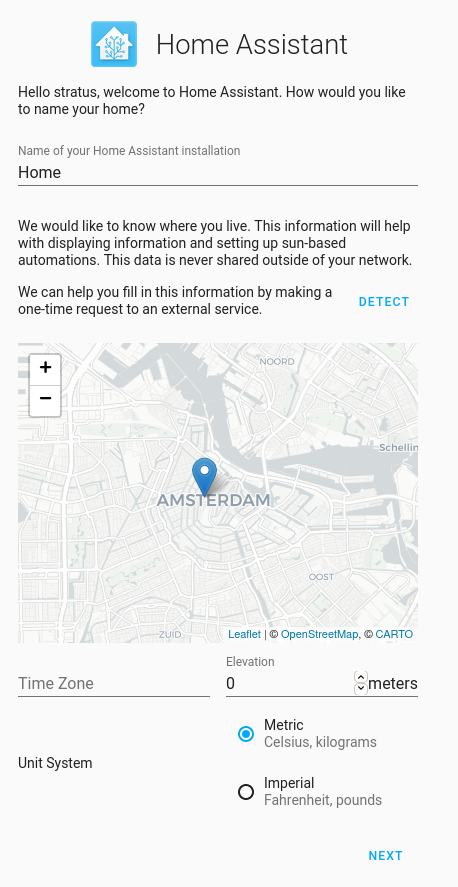
In the second and third articles, I looked at some of the decisions to make when developing home automation, namely local vs. cloud control, and whether to choose Zigbee, Z-Wave, or WiFi, just to hit the high points. This fourth article will be much more hands-on than the previous ones by walking you through setting up a virtual machine (VM) with the Home Assistant-provided image.
Set up the VM
I won’t cover all of the methods available for installing Home Assistant (HA). I run HA in a virtualized environment, and the official installation page provides VMDK, VHDX, VDI, QCOW2, and OVA downloads. I have a libvirt-based homelab, so I chose the QCOW2 image…


